Ever wonder how to make your own Cake Pops? Well, I’m here to help!
I have a picnic scheduled for tonight, and for the past week, I have been contemplating what dessert I should make. Then the light bulb went on. I have been wanting to try a turn at making Cake Pops for over a year now, so why not try it for a special occasion? Fortunately, the Cake Pops turned out perfectly, which is a relief because I was worried that I would have a dessert disaster.

So how did I make these lovely Cake Pops, you might ask. Well, it’s your lucky day because I am here to provide you with the recipe.
What You Will Need:
-Cake Mix (and everything you need to bake the cake)
-Cake Frosting
-Candy Melts
-Cake Pop Sticks
-Cake Pop Stand
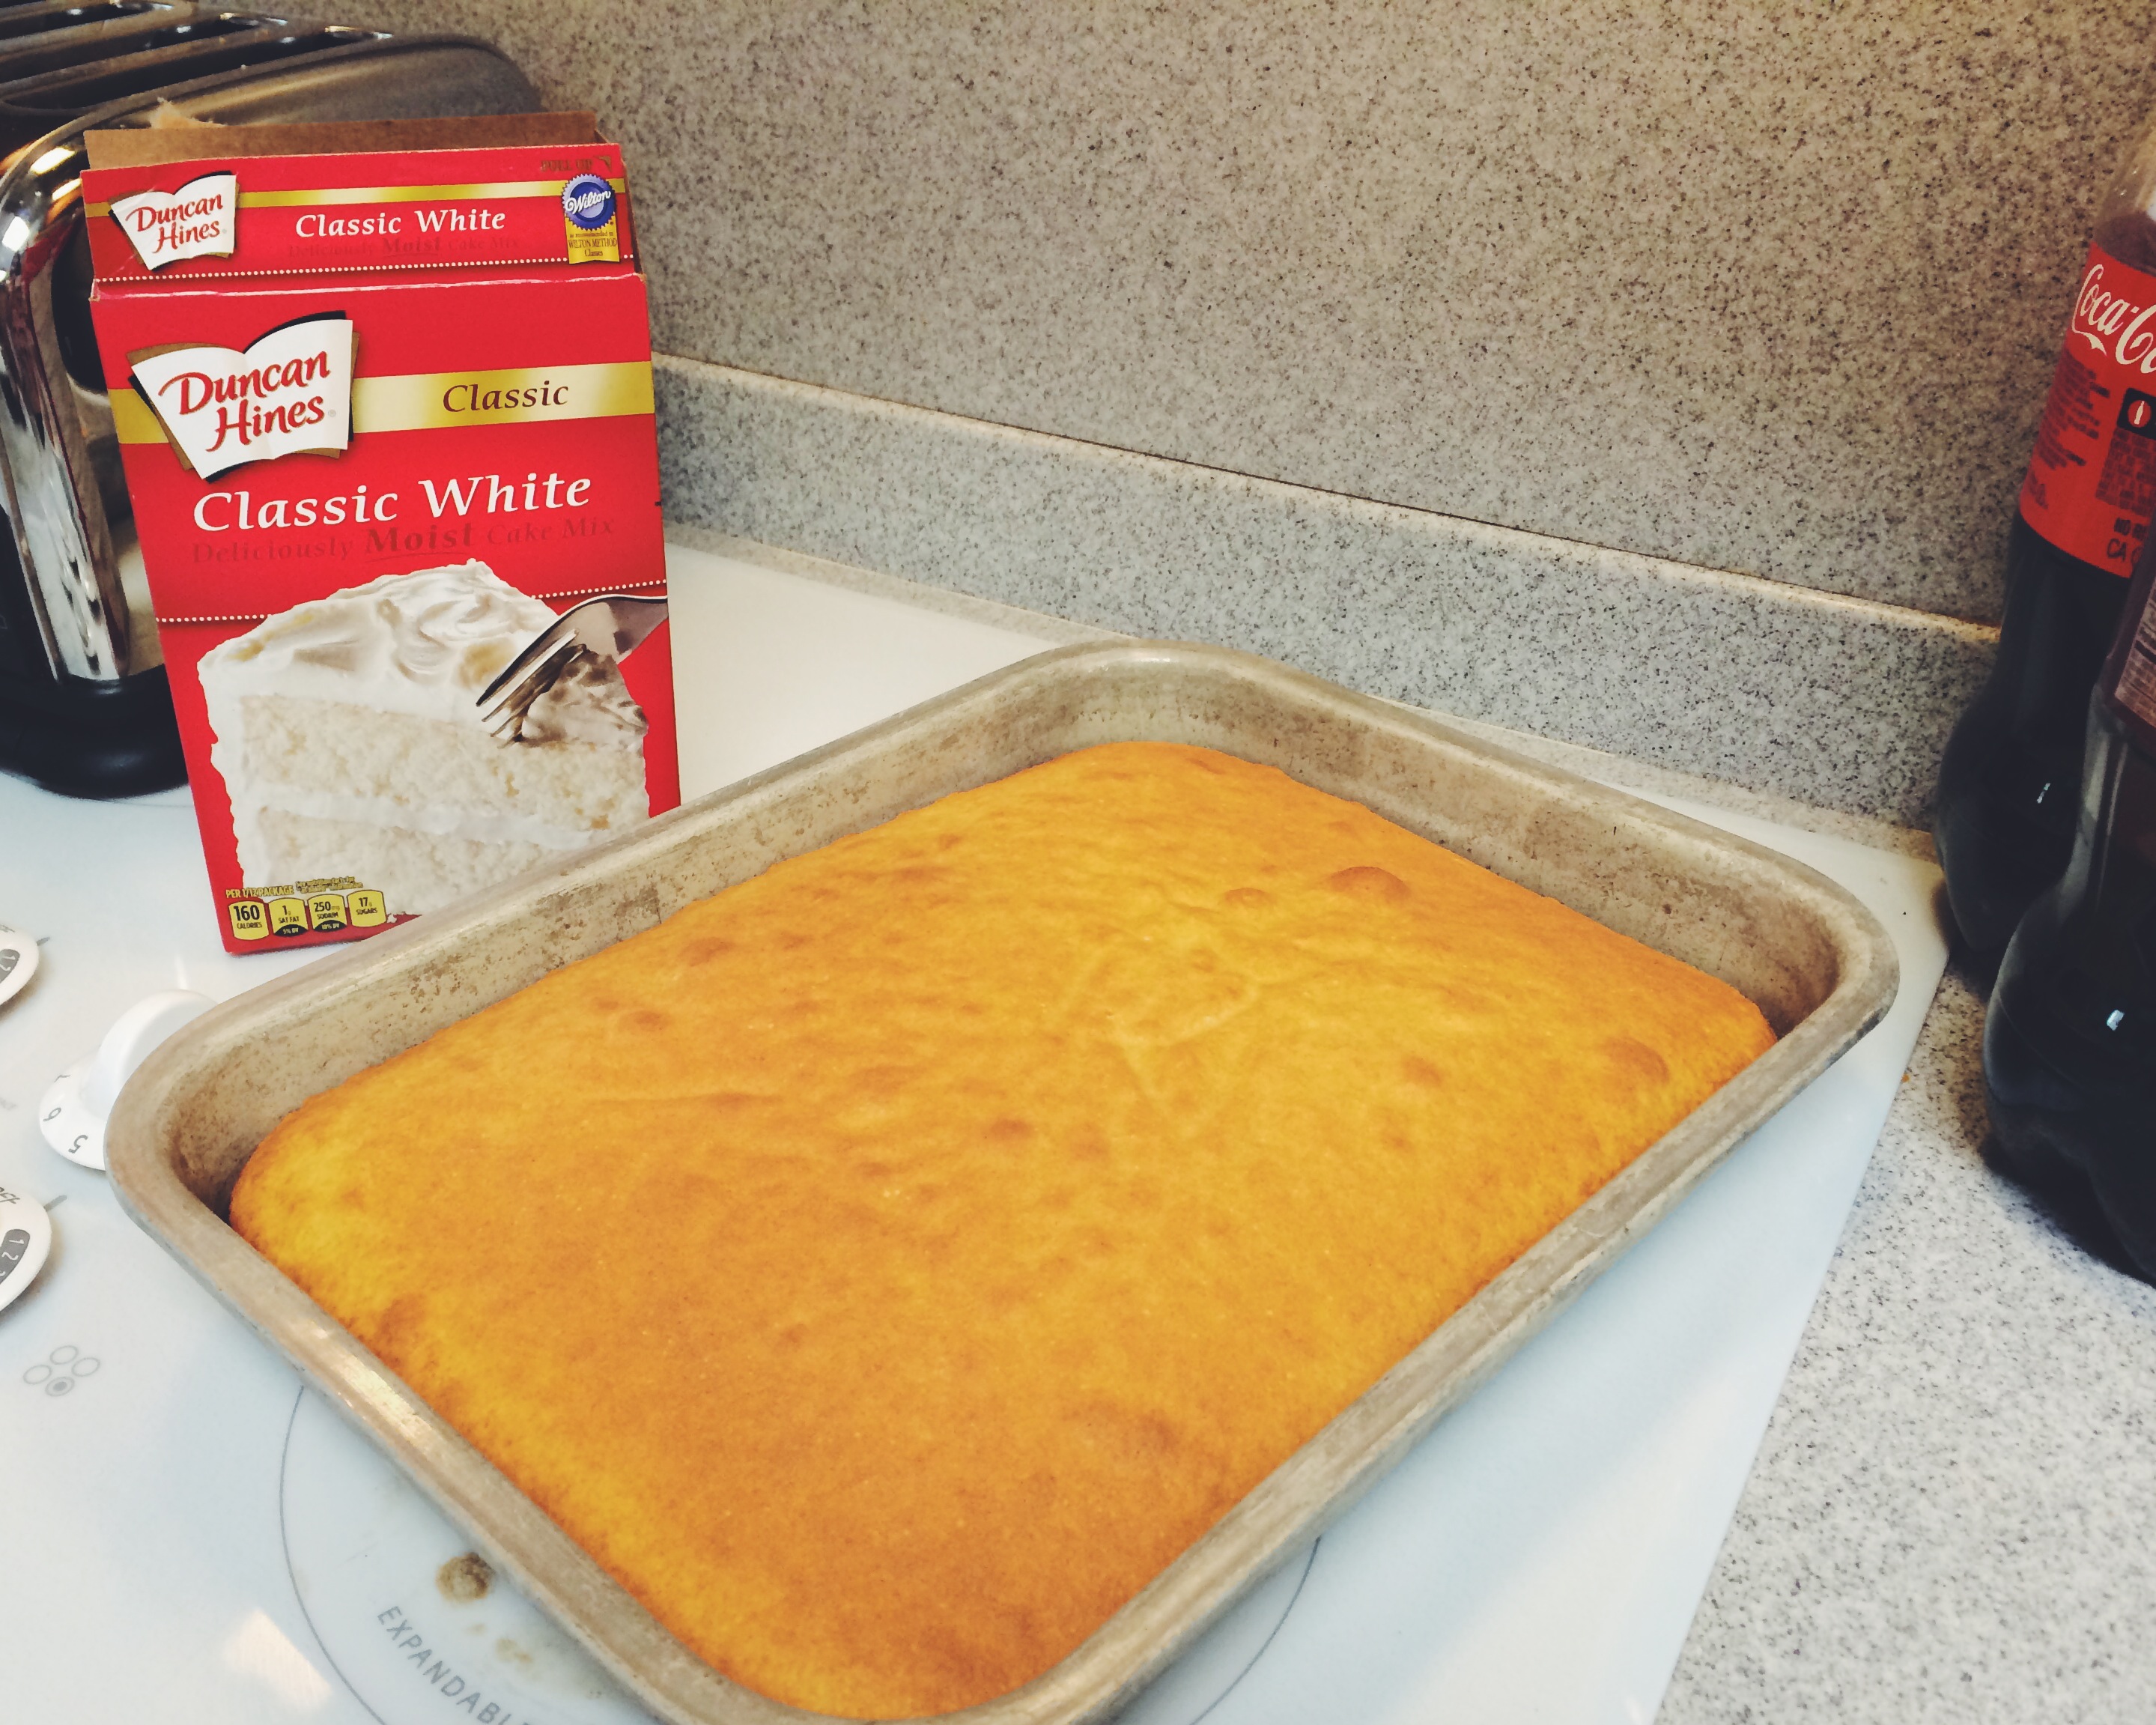
Step one:
Bake the cake exactly how you would normally bake a cake and leave it to cool down.
Step two:
Once your cake is completely cool, cut the cake into smaller pieces. This will make it easier to crumble the cake.

Step three:
Crumble each piece with your hands into a large bowl. I unfortunately picked a smaller bowl than I should have. I had to make two batches of Cake Pops. Here is how your crumbles should look.

Step four:
Mix in about ⅓ frosting from the container. Remember, LESS IS MORE, but also consider that not enough frosting can result in the Cake Pops falling apart. (This happened with my first batch of Cake Pops. It’s a good thing I had to make two!!) When you squeeze the cake crumples, it should now be easy for it to stick together.

Step five:
In order to get your Cake Pops into balls, it is easier to use a small scooper. Unfortunately, I did not find one in my kitchen, so I just made them with my hands. Place the balls on a plate that will fit in your refrigerator or freezer. Also, it is easier to use smaller plates (5 balls per plate) so they will not fall apart due to being in room temperature. (As you can see, this is the plate from my first batch. I did not use enough icing so they fell apart easily. The second batch I used a tiny bit more than ⅓ of the container, but definitely not ½ of the container. Hope this helps!)

I would recommend placing them in the freezer for 6-8 minutes. While they are in the freezer, melt your candy.
Step Six:
Take your first plate out of the freezer. Take a Cake Pop stick and dip the end into the candy that is melted. Then, place a stick in each of the cake balls. After you have finished, place the plate into the freezer for another five minutes. Continue, when ready, with the other plates of cake balls.

Step Seven:
Once the five minutes are up, take the cake balls out of the freezer and drip each into the melted candy. Gently tap the stick on the side of the container to get the extra off. Immediately add any sprinkles to your Cake Pops. Place them on a Cake Pop stand. Since I did not want to buy a Cake Pop stand, I used what i had at home by using Styrofoam which worked perfectly! It does not take long for the Cake Pops to dry.

Ta-Da!! You are finished and have cute, little Cake Pops to share with your friends, to take on a picnic, or to stash away for your own enjoyment. Happy indulging!

These look amazing!!! Thanks for providing the recipe, so excited to try it out